How to create a study
This guide will walk you through creating a new study and optionally adding a site within the application.
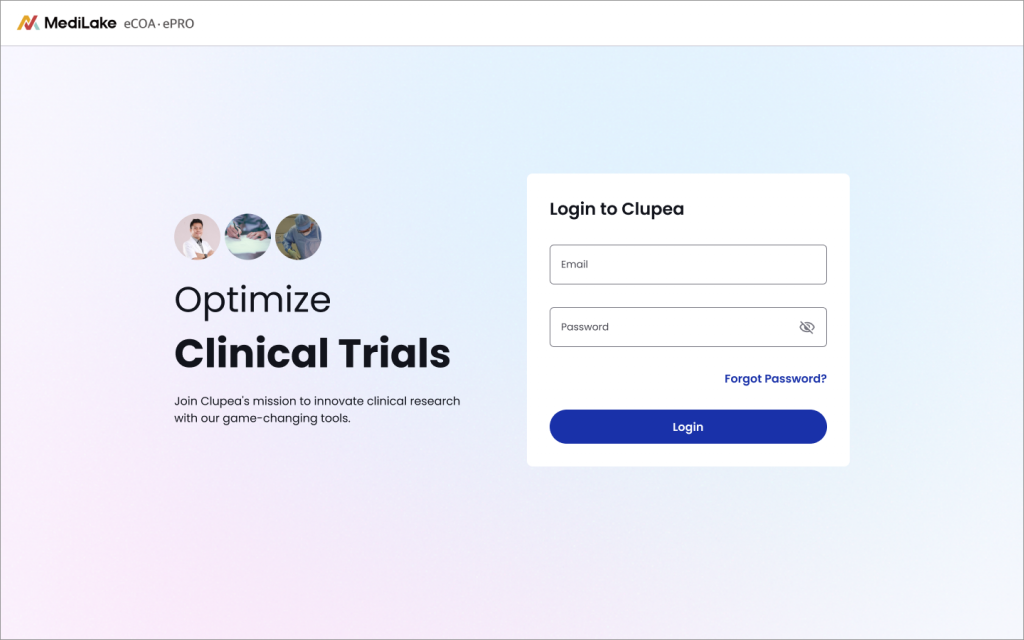
Login:
- Open the application and enter your username and password on the login screen.
- Click the Login button.
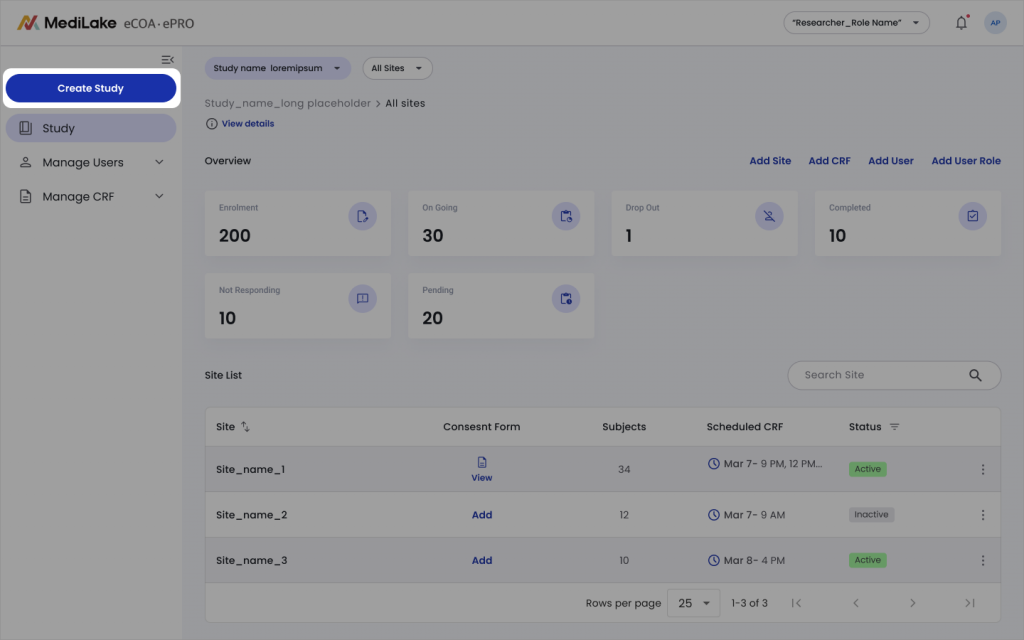
Creating a Study:
- Upon successful login, you will land on the study listing page.
- Locate the button labeled “Create Study”. This button is typically located on the study listing page.
- Click the “Create Study” button. This will take you to the study creation page.
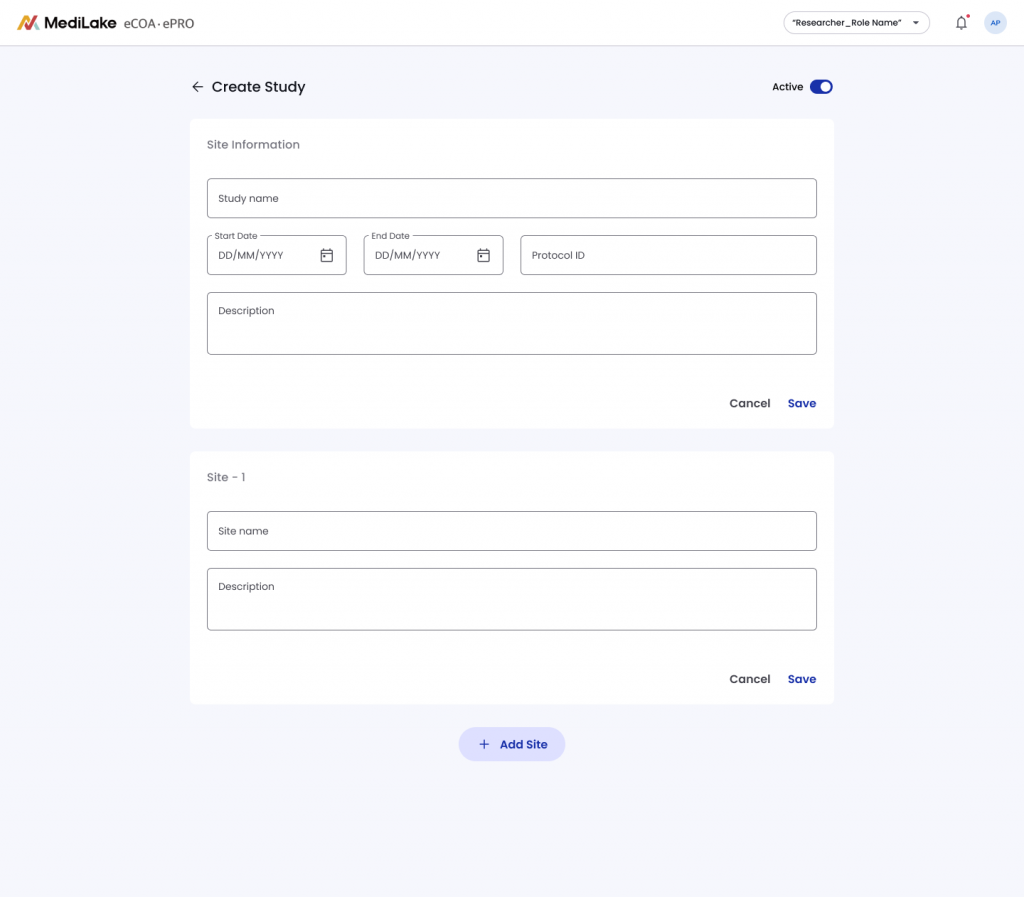
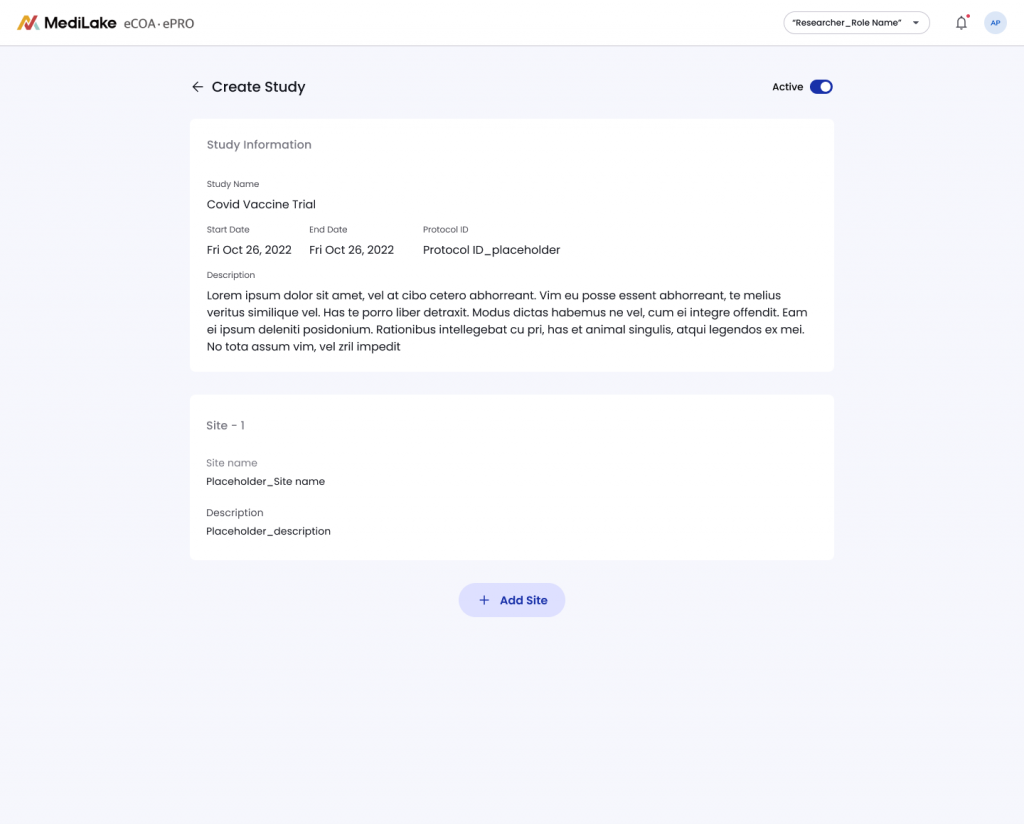
Defining Study Details:
On the study creation page, enter the necessary information for your study:
- Study Name: Enter a clear and descriptive name that identifies your study.
- Study Description: Provide a detailed explanation of your study’s purpose and goals.
- Start Date: Specify the date when the study will officially begin.
- End Date: Indicate the anticipated date of study completion.
- Protocol ID: enter the unique identifier assigned to the study protocol. Save: Choose this option to save your study and site information